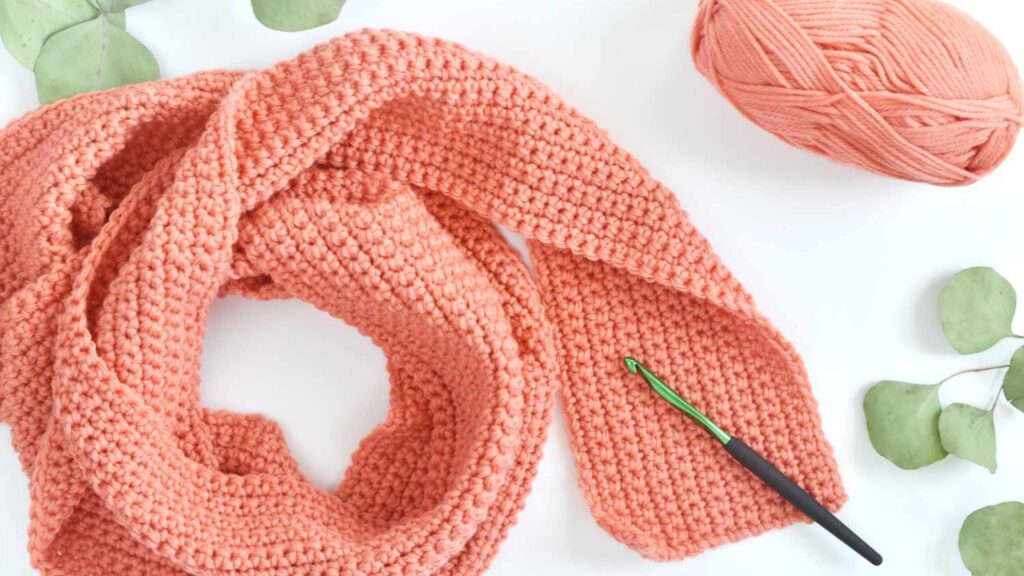
How to Crochet a Scarf: A Simple Tutorial
By Marilyn Lopez / July 29, 2024 / No Comments / Crotchet
Crocheting a scarf is an excellent project for beginners and experienced crafters alike. It’s a practical accessory that allows you to practice essential crochet techniques while creating something useful and stylish. This tutorial provides step-by-step instructions to help you crochet a beautiful scarf, using basic stitches and straightforward techniques.

How to Crochet a Scarf: A Simple Tutorial
Materials Needed
Before you begin, gather the following materials:
- Yarn: Choose a medium-weight yarn (like worsted weight) for a cozy scarf. You can select any color or texture that appeals to you.
- Crochet Hook: Use a crochet hook that matches the yarn weight. For worsted weight yarn, a hook size of H-8 (5.00mm) is a good choice.
- Scissors: To cut the yarn.
- Yarn Needle: For weaving in the ends.
Step 1: Foundation Chain
Start by creating a foundation chain. This is the starting point for your scarf. Make a slip knot on your hook and chain until the scarf reaches your desired width. For a standard scarf width, chain approximately 25-30 stitches. Ensure the chain is not too tight; it should have some flexibility.
Step 2: First Row – Single Crochet
Turn your work to start the first row. Insert your hook into the second chain from the hook, yarn over, and pull through, making two loops on the hook. Yarn over again and pull through both loops to complete a single crochet stitch. Continue this process across the row, placing a single crochet stitch in each chain stitch. At the end of the row, turn your work around to start the next row.
Step 3: Subsequent Rows – Single Crochet
For the subsequent rows, continue crocheting single crochet stitches into each stitch of the previous row. Remember to turn your work at the end of each row. Maintain consistent tension throughout to ensure an even scarf. If you prefer a wider scarf, continue adding rows until you reach your desired length.
Step 4: Adding Fringe (Optional)
If you’d like to add fringe to your scarf for a decorative touch, follow these steps:
- Cut several lengths of yarn, each about 6-8 inches long.
- Fold each piece of yarn in half and use a crochet hook to pull the folded end through a stitch at the end of your scarf.
- Pull the loose ends through the loop created and tighten. Repeat this process across the ends of your scarf.
Step 5: Finishing Touches
Once your scarf reaches the desired length and you’ve completed any optional fringe, it’s time to finish. Use scissors to cut the yarn, leaving a tail of a few inches. Thread this tail through a yarn needle and weave it through the stitches along the edge of the scarf to secure it. Trim any excess yarn.
Tips for Success
- Consistency: Maintain an even tension to ensure your scarf has a uniform appearance.
- Practice: If you’re new to crocheting, practice on smaller swatches before starting your scarf.
- Relax: Enjoy the process and don’t worry about perfection. Crocheting is a relaxing and creative activity.
Conclusion
Crocheting a scarf is a rewarding and straightforward project that offers an excellent introduction to the craft. By following these steps, you’ll create a cozy and stylish accessory that showcases your new skills. Whether you’re making a scarf for yourself or as a gift, this project allows you to enjoy the art of crochet while producing a beautiful and functional piece. Happy crocheting!
